Showing posts with label Centerpiece Tutorials. Show all posts

Thursday, November 24, 2011

Tablescape Thursday: A Rustic Thanksgiving

Enter into his gates with thanksgiving, and into His courts with praise: Give thanks unto Him, and bless His name.
Psalms 100:4 (ASV)

Last week I shared one of my Thanksgiving tablescapes from last year.  Well, actually, in order to accommodate our family, I had two tablescapes last year! 
So here's a look at the other one.


But first things first!  I have to give credit to Yvonne at Stone Gable, who inspired this tablescape!  Last year around this time, I was just beginning to enter blogland.  I had not yet started a blog of my own, but I was greatly enjoying many other amazing blogs.  As I was looking around for some tablescape inspiration, I stumbled upon Stone Gable, & I was forever hooked.  If you haven't yet been to her blog, hop on over there & take a look around....but I must warn you, you might end up spending hours over there!

Anyway, back to the table.  I had recently purchased the turkey plates seen above, & had a general idea of what I wanted the table to look like.....brown & green, somewhat rustic, etc., but couldn't quite pull it together in my head.  Then I saw her tablescape!  That was it....the look I was searching for!

  So are you ready to see the amazing table that inspired me so much? 

 Here it is:

{styling & photography by Yvonne at Stone Gable}

I just knew that centerpiece would pull it all together!

So I begin gathering up some hydrangeas.....some from my grandma & others from my mother-in-law....and went to work!  What made it even better was that Yvonne even had a tutorial for this amazing centerpiece.  (Feel free to click here if you want step-by-step instructions for yourself!)

So here's a closer look at hers:
{styling & photography by Yvonne at Stone Gable}

And here's a closer look at mine....a little different due to the materials & space I had available, but the same general idea.
A mix of hydrangeas, feathers, branches, & glittery acorns are the perfect mix for this rustic centerpiece.

So now that I had the focal point, I begin adding the dishes.
I started with my copper colored chargers, which tied in with the glittery acorns, & then layered on my green Gracious Goods dinner plates.

Next came the turkey plate.

Two napkins, one brown/taupe and the other olive green, are held together with this cute pheasant napkin ring with a feathery tail.  The glittery, copper-colored pheasant added just enough sparkle, while still being somewhat rustic.

 Gracious Goods flatware & place cards grace each setting, while two goblets, again one copper & one green, add some interest.

 For that final touch, a small votive was placed at each place setting as well.

So there you have it.

Copper Chargers - Hobby Lobby
Turkey plates - TJ Maxx
Green Goblets - Walmart
Copper Goblets - Tuesday Morning
Gracious Goods flatware & placecard holders - Horchow
Green & Taupe napkins - Burlington (Click here to see another tablescape using these napkins.)
Pheasant napking rings - Z Gallerie
{Click the links above to see other tablescapes using the same items.)


Thanks for stopping by.  I'll be joining  Between Naps on the Porch for Tablescape Thursday.  Be sure to take a peek at all the fabulous tablescapes over there, & if you haven't already, be sure to stop by Stone Gable.  You'll be glad you did!

Happy Thanksgiving!

Tuesday, May 10, 2011

Tutorial Tuesday: Manzanita Centerpiece

For both Easter & Mother's Day, my tablescape centerpiece included a "tree" that I put together.  While easy to do, it made it a big statement, so I thought I'd share this easy project with you.

What you'll need:
~1-3 manzanita branches (depending on how big you want it to be & the size of the branches)
~an urn or container of some kind
~spray paint (my two branches required 4 cans)
~ possibly something to stick down in the urn to help hold the branches in place
(Anything that has a little weight & fits should work......I've seen people use decorative orbs, floral foam, etc.  If the items will show, you'll want it to be something decorative, of course.)
~ tree "decorations"


What to do:
After testing out your branches to make sure they'll fit in the urn/container, spray paint branches desired color.  I painted mine "Ballet Slipper Pink"......I love the subtle color.  (The branches are pretty in their natural state, so you could skip the paint depending on the look you're going for.  I have one branch I've kept in its natural state for another tablescape I have in my head that I want to do sometime in the near future!)
 I took the branches out to the field next door to paint them.

 It took 3 or 4 coats to completely cover the dark color of the branches. 
(Guess I could have used primer, huh!)


 After paint is completely dry, set the branches in the container. 

 I was lucky that the hole at the bottom of my urn was just the right size for the ends of the branches, which helped to hold them upright.
I wanted my two branches to look like one, so I gently intertwined some of the limbs.  This also helped to hold it in place.  {Be careful when doing this as some of the limbs are fragile.}
 {Once in its desired place, here is where you might have to add something down in the urn to help keep the branches upright.}

Then, just decorate it.  For Easter, I chose to use vintage eggs & postcards on the branches.......


.....and added some "fluff" & eggs to the urn.


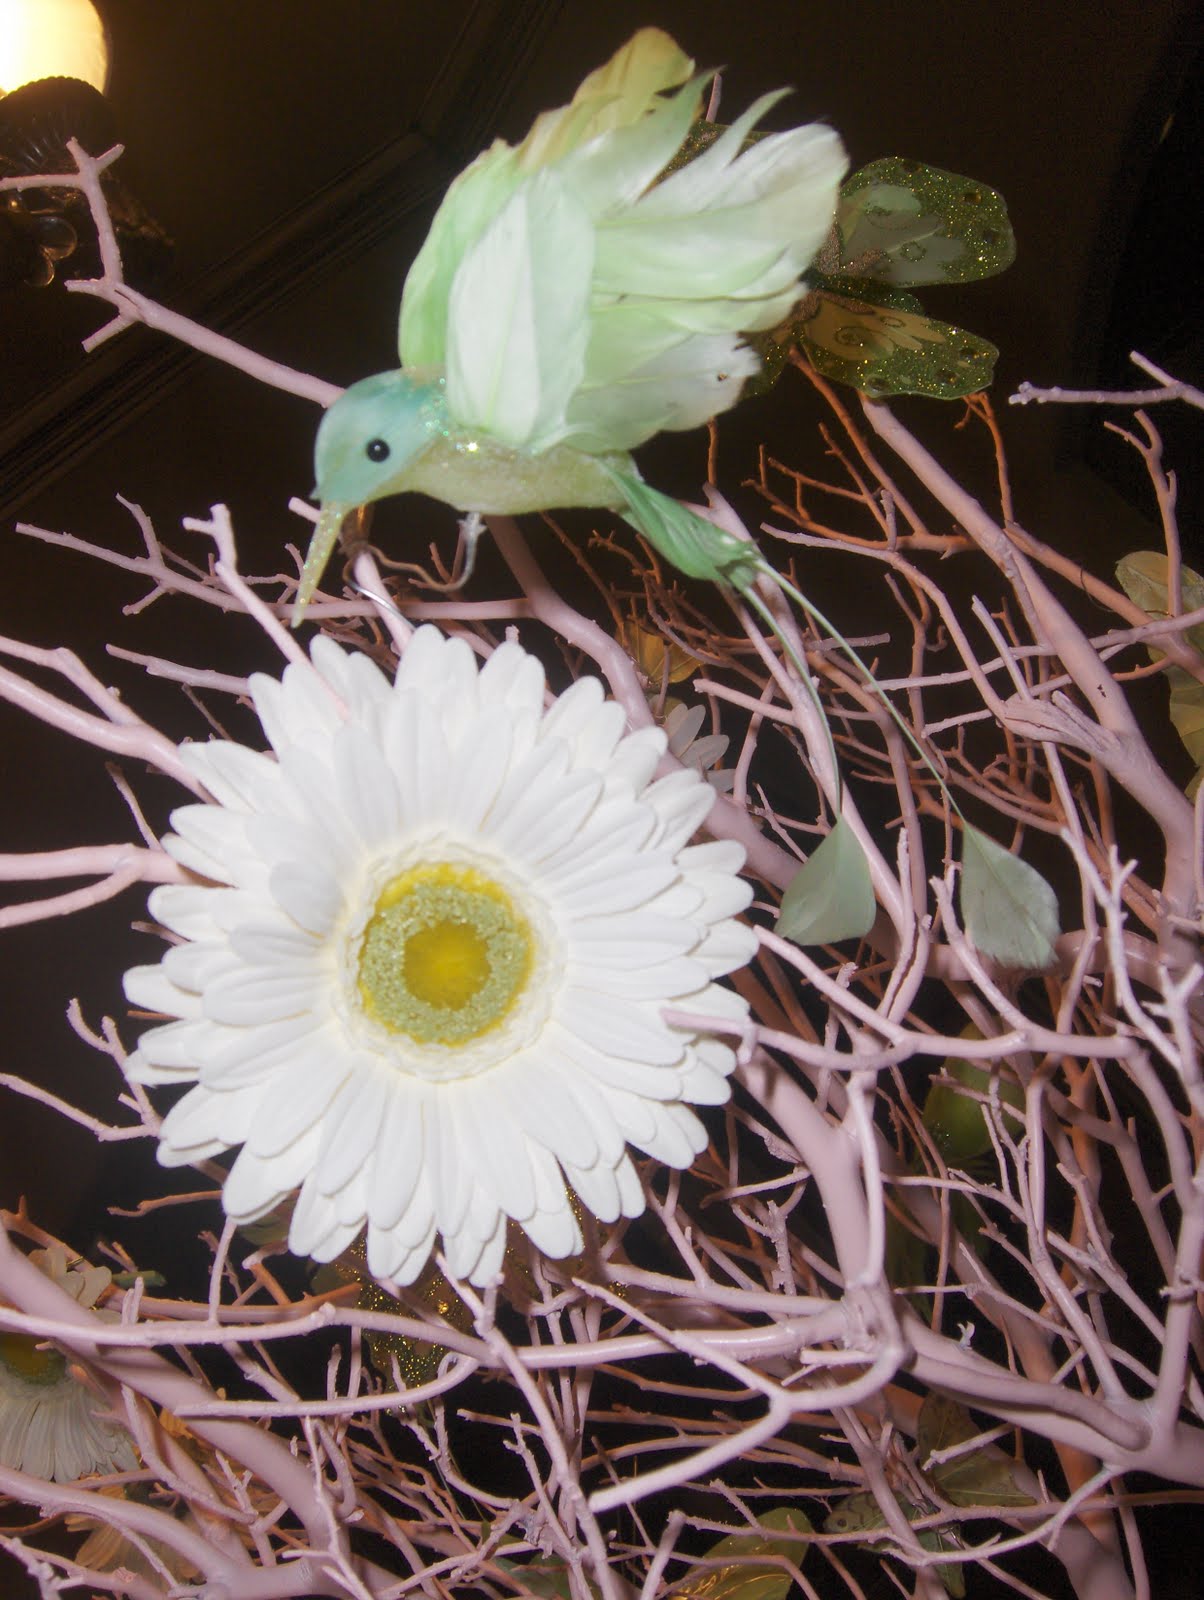
For Mother's Day, I wired on some daisies, along with a few butterflies & birds, and even a hummingbird or two....... 


 ........and added a few hydrangeas to the urn.


 {But that's all you get to see of my Mother's Day tablescape for now.  You'll have to wait 'til Thursday to see the rest of it!}

Another benefit of this centerpiece is that the branches can be repainted over & over to give your table a completely different look!  Hmmm, what color should I do next?

Thanks for stopping by.  Hope you'll be back soon.

{I'm linking with Wow Us Wednesday at Savvy Southern Style,  Show &  Tell Friday at My Romantic Home, Pink Saturday at How Sweet The Sound, Seasonal Sunday at The Tablescaper, Met Monday at Between Naps on the Porch, & Hoo's Got Talent at Night Owl Crafting}

Tuesday, March 29, 2011

Tutorial Tuesday: Diaper Cake Tutorial


If you missed last Thursday's post, here's a recap of the baby shower I hosted for my sis-in-law.


Now on to the fun diaper cake centerpiece!
{I apologize in advance for the small amount of photos.  I made this last year long before my blogging journey began, so I'm lucky I have any pictures at all!}

What You'll Need:

~ Approx. 60 diapers - depending on how big you want to make the cake
{You can use disposable or cloth.  You could even use patterned diapers if you prefer.}
~ Several rubber bands
~ Cardboard or plastic cake platter (or you could just cut a piece of cardboard)
~ Large bottle of baby powder or some other baby product
~ Bottle (I used the type that has liners & no "bottom")
~ Decorative ribbon
~ Whatever "decorations" you want to use


What to do:

Begin by unfolding several diapers, and rolling them up tightly one at a time.  It's best to start from the front and roll it toward the back as tight as possible.  Wrap a rubber band around the center of each rolled up diaper.

Place the bottle of baby powder (or whatever product you chose) in the center of the cake platter, and place the diapers around it, securing them in place with a large rubberband or ribbon.  You'll probably need about 6-8 diapers for the first ring of the bottom tier.

Form a second ring, following the same instructions as the first, only this time using about 10-13 diapers.  Again secure with a rubberband or ribbon.

Now form one more ring for the bottom tier, using approximately 18-20 diapers.  For this ring, you have the option of either tying each diaper with a rubberband as before (you'll want to be sure the rubberbands are in the middle so that when you place a ribbon around the ring, it hides the rubberbands), or you can tie a small ribbon around each diaper so that several "bows" show all around the ring.  (You'll still have to tie a larger ribbon around the layer to keep the diapers together.)  I had a little difficulty keeping all the diapers in place while I tied the ribbon around it.  You may want to have someone help you hold them in place while you tie the ribbon, or you can hold together as many as possible, tie the ribbon (with a little room to spare), and then sqeeze in more diapers.

Now your bottom layer is finished!


Repeat the same process for the second tier, but only make two rings this time.

Stack the bottle on top of the baby powder.  (This is why I like the "bottomless" bottles.  It sits better on the baby powder, making it sturdier).  If you chose another type of bottle, it may be easier to sit in on a table to form the top tier & then place it on the cake.

For the top tier, you only need to form one ring of diapers around the bottle.  (You can either invert the bottle nipple as I did so that it wouldn't show, or if you don't have a topper, you can leave it sticking out the top of the cake.)


Now's the fun part.....decorating it.  You can be as creative as you'd like!

Although I had a thin ribbon around each tier of diapers holding them in place, I chose to cover that ribbon with two layers of other decorative ribbon, held in place by a little hot glue at the back.  (I just pulled it tight & glued the ribbon to itself, not the diapers!)


I also added a pink feather boa around each layer, which not only added a little more pizzazz, but also helped to conceal the cake platter on the bottom.


The bunny is just sitting on the top, with nothing actually connecting it.
You could also just tie a bow on the top.


Then I added a few other baby items, such as a little "princess" fork & spoon, a bunny wrist rattle, a little rhinestone picture frame (which I lined with green scrapbook paper & a rhinestone "C" sticker - the baby's initial), baby shoes, and a pacifier & clip.  Some items were tucked into the ribbon, while others simply rested on the cake or were attached with some type of clip  - whatever I had on hand.  I even used paper clips!


Now that you've seen the front of the cake, I'll do a 360* around it. 

Here's a view of the side of the cake, which I decorated with little baby bunny slippers and a couple of hair bows.


And here's the back, which showcases a flower barrette, some washclothes (which I simply tied together with ribbon, paper-clipping the ribbon to the ribbon on the diaper cake), and another pacifier resting on the bottom tier. 


And here's the other side, which holds a sweet little pair of baby booties.


And now we're back to the front.


These make great baby gifts as well!


I'm linking to Mosaic Monday at Little Red House & Metamorphosis Monday at BNOTP!  Check it for some great inspiration!