Showing posts with label crafts. Show all posts

Tuesday, June 21, 2011

Tutorial Tuesday: Easy Dry Erase Board

You might remember back in March, when I included this "Menu Board" on my "All About the Effiel Tablescape"?

Did you think that I wrote the menu on a piece of paper & then inserted it? 
Well, actually, I wrote right on the glass, using a dry erase marker!

And it gave me an idea!

If you're like me, you're always jotting down little notes, reminders, & ideas.  So instead of all those little pieces of paper, why not make a fun, decorative dry erase board to capture some of those thoughts?

All you need is a picture frame of your choice, some scrapbook paper (or fabric), & any other embellishments you might want to add.

Simply cut the paper to fit the frame.  (If you want to use fabric, cut a piece of cardboard, tightly wrap the fabric around the cardboard, & hot glue the edges to the back.)

You could add ribbon or other embellishments to the frame, as well.

I used a 8X10 picture frame I had in my craft room for these examples, but obviously if you wanted a hanging dry erase board, you could use a much larger frame.  And it could double as a piece of art!

One of the fun things about these "dry erase boards" is that they are so versatile & only limited by your imagination.

Set one in the kitchen to jot down grocery items, a recipe, or a weekly menu.

Simply change the paper, & use it for a party or other special occasion.

A quick change of paper can take you from season to season, too!


In fact, you could even have a photo as the background!


The possibilities are endless!  About $.50 & a minute is all it takes to give it a whole other look!

Be sure to use dry-erase markers on the glass. A quick swipe with a damp paper towel & you're ready for a new message.

Have fun!

I'll be joining the following parties:
Amaze Me Monday @ Dittle Dattle
Blue Monday @ Smiling Sally
Craft-O-Maniac Monday @ Craftomaniac
Market Yourself Monday @ Sumo’s Sweet Stuff
Masterpiece Monday @ Boogie Board Cottage
Organizing Mission Monday @ Organize with Sandy
Hoo’s Got Talent @ Night Owl Crafting
Whatever Goes Wednesday @ Someday Crafts
What I Made Wednesday @ Sweet Peas & Bumblebees
Thrilling Thursday @ Paisley Passions

Tuesday, June 7, 2011

Tutorial Tuesday: Dressing Up Diapers & Other Little Tidbits

This post is more of a tidbit & idea post than it is a tutorial {although I will share links to a couple of tutorials a little further down}, but I hope that it provides at least a little inspiration for someone out there in blogland.


I don't know about you, but when it comes to baby gifts, I often want to give something practical, but at the same time, I want it to be fun & cute.......something pleasing to the eye.  
A package of diapers, though extremely practical, is typically not very eye-catching........now you could just wrap it in cute paper or throw it in a gift sack & call it done, but you know me.......that would be too easy!  And if you've been following my blog for a little while, you've probably learned that I'm all about gift baskets! {Click here to see some of the gift baskets I've put together over the past few years}.
So how do you dress up diapers to make them a little cuter?

Well, one idea is to display them in a cute bucket or container.

This past week, when I was buying a gift for a co-worker's baby shower, I decided to put together this fun little bucket of diapers.

I began by purchasing a plain black metal bucket on clearance at Hobby Lobby, and then "dressed it up" using chalkboard paint, scrapbook paper, ribbon, & trim.


So how exactly did I "dress it up", you ask?  Well, back in February {before I had a single follower!}, one of the first posts I did was a tutorial on how to make these fun buckets.  So rather than repeating the instructions, feel free to click here to get the scoop.  It's really rather easy!
 

One of the benefits is that you can choose any theme or color scheme.  I chose pink, black, & white for this one to coordinate with the baby's nursery.  {Even the little piece of chalk is pink!}

But I've also done lavendar & green in the past.

You can also make it pretty much any size you want.
{You could even use a large beverage tub if you wanted!}
 The possibilities are endless!  You're only limited by your imagination!


 Once the bucket was complete, I simply took the diapers out of the package, rolled them up, secured them with coordinating ribbon, & filled the bucket.


Not only are the diapers practical, but the little bucket can be used for a variety of baby items later on!


Of course, you could fill it with other baby goodies, too!  It doesn't just have to be diapers.


So what about for boys? 
Just skip the ribbon & trim and use boy scrapbook paper, or you could forgo the scrapbook paper altogether, & simply paint a little chalkboard in the center!

You could even make one as a wedding or birthday present.  Just adjust the colors & content as appropriate!
And while you're at it, make one for yourself, too!
***************************************************

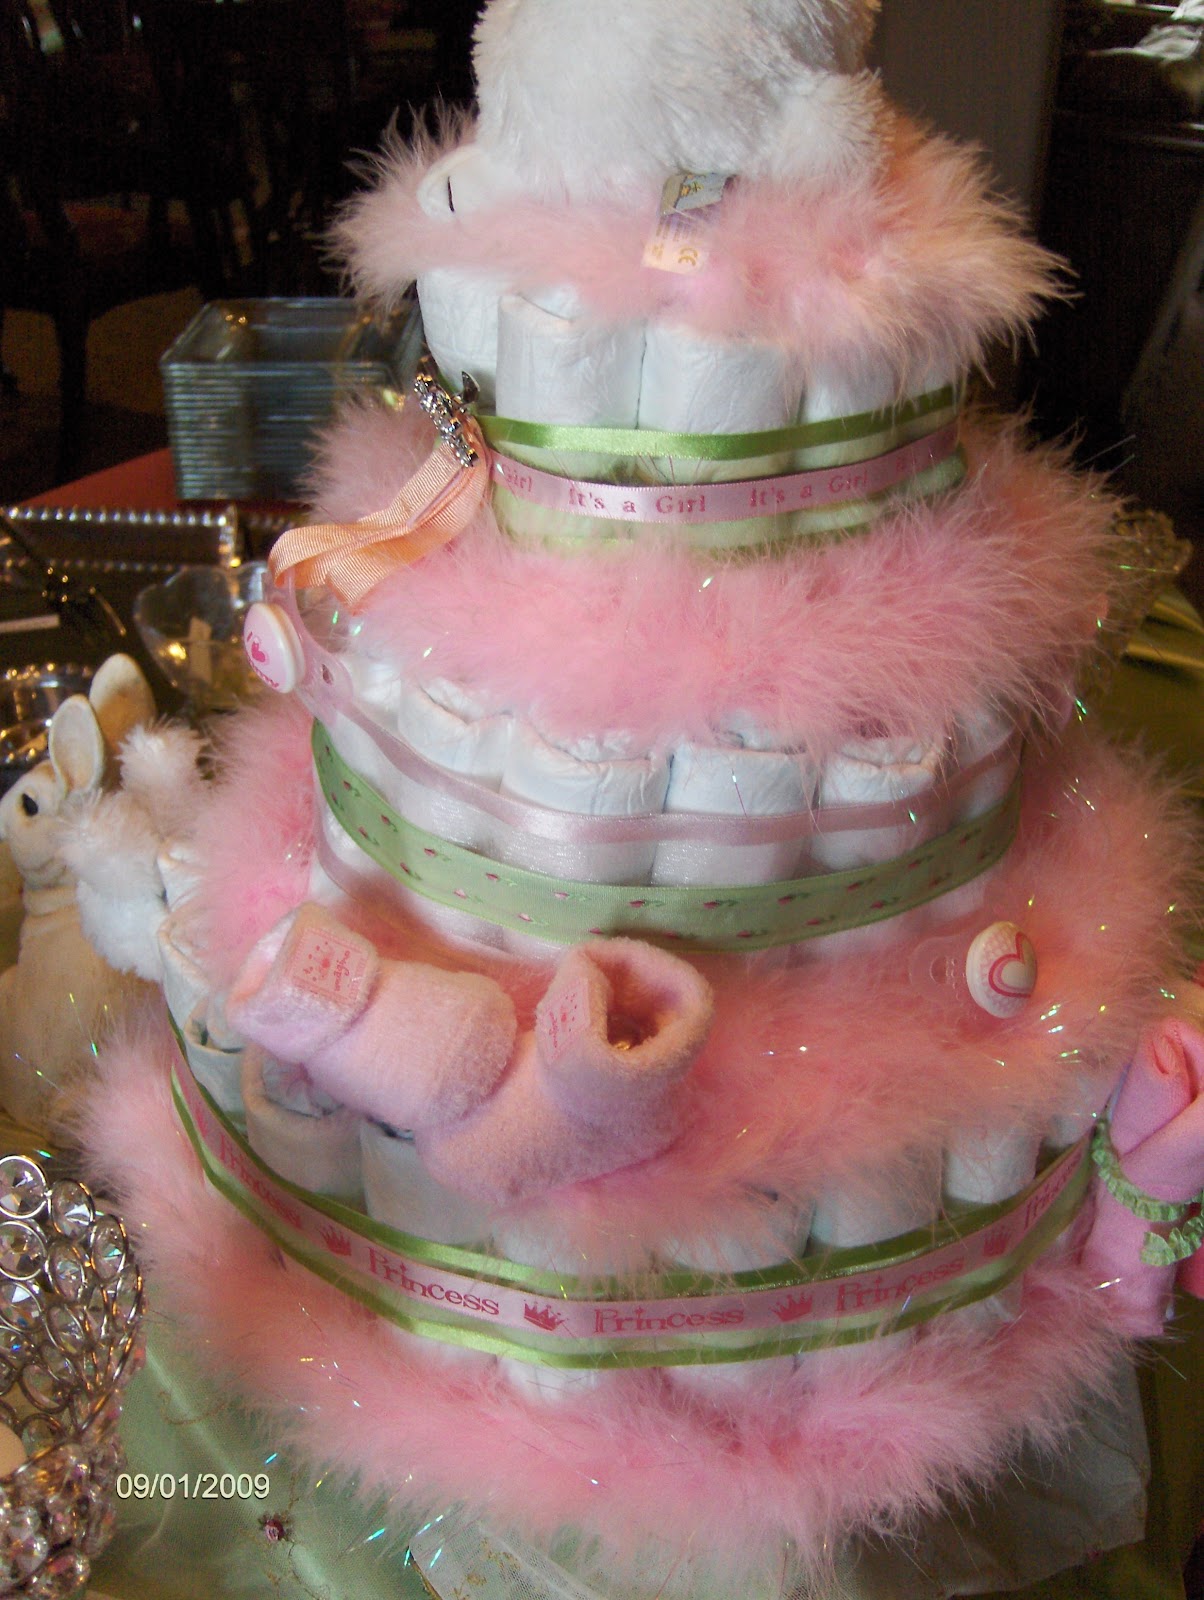
Another idea of dressing up diapers is to make a diaper cake.

{Click here for a tutorial}.


Again, you can decide on the theme, colors, & size!

What other baby gift ideas do you have?  I'd love to hear them!

I'm linking with the following parties:
Amaze Me Monday @ Dittle Dattle
Craft-O-Maniac Monday @ Craftomaniac
Market Yourself Monday @ Sumo’s Sweet Stuff
Masterpiece Monday @ Boogie Board Cottage
Wow Us Wednesdays @ Savvy Southern Style
What's Up Wednesday @ Sew Woodsy
Hoo’s Got Talent @ Night Owl Crafting
Make It Yours @ My Back Yard Eden
Show & Share @ Just A Girl
Whatever Goes Wednesday @ Someday Crafts
Thrilling Thursday @ Paisley Passions
Friday Favorites @ Simply Sweet Home
Pink Saturday @ How Sweet The Sound
Newbie Party @ DebbieDoos
What I Made Wednesday @ Sweet Peas & Bumble Bees
It's a Party @ A Creative Princess


Tuesday, May 10, 2011

Tutorial Tuesday: Manzanita Centerpiece

For both Easter & Mother's Day, my tablescape centerpiece included a "tree" that I put together.  While easy to do, it made it a big statement, so I thought I'd share this easy project with you.

What you'll need:
~1-3 manzanita branches (depending on how big you want it to be & the size of the branches)
~an urn or container of some kind
~spray paint (my two branches required 4 cans)
~ possibly something to stick down in the urn to help hold the branches in place
(Anything that has a little weight & fits should work......I've seen people use decorative orbs, floral foam, etc.  If the items will show, you'll want it to be something decorative, of course.)
~ tree "decorations"


What to do:
After testing out your branches to make sure they'll fit in the urn/container, spray paint branches desired color.  I painted mine "Ballet Slipper Pink"......I love the subtle color.  (The branches are pretty in their natural state, so you could skip the paint depending on the look you're going for.  I have one branch I've kept in its natural state for another tablescape I have in my head that I want to do sometime in the near future!)
 I took the branches out to the field next door to paint them.

 It took 3 or 4 coats to completely cover the dark color of the branches. 
(Guess I could have used primer, huh!)


 After paint is completely dry, set the branches in the container. 

 I was lucky that the hole at the bottom of my urn was just the right size for the ends of the branches, which helped to hold them upright.
I wanted my two branches to look like one, so I gently intertwined some of the limbs.  This also helped to hold it in place.  {Be careful when doing this as some of the limbs are fragile.}
 {Once in its desired place, here is where you might have to add something down in the urn to help keep the branches upright.}

Then, just decorate it.  For Easter, I chose to use vintage eggs & postcards on the branches.......


.....and added some "fluff" & eggs to the urn.


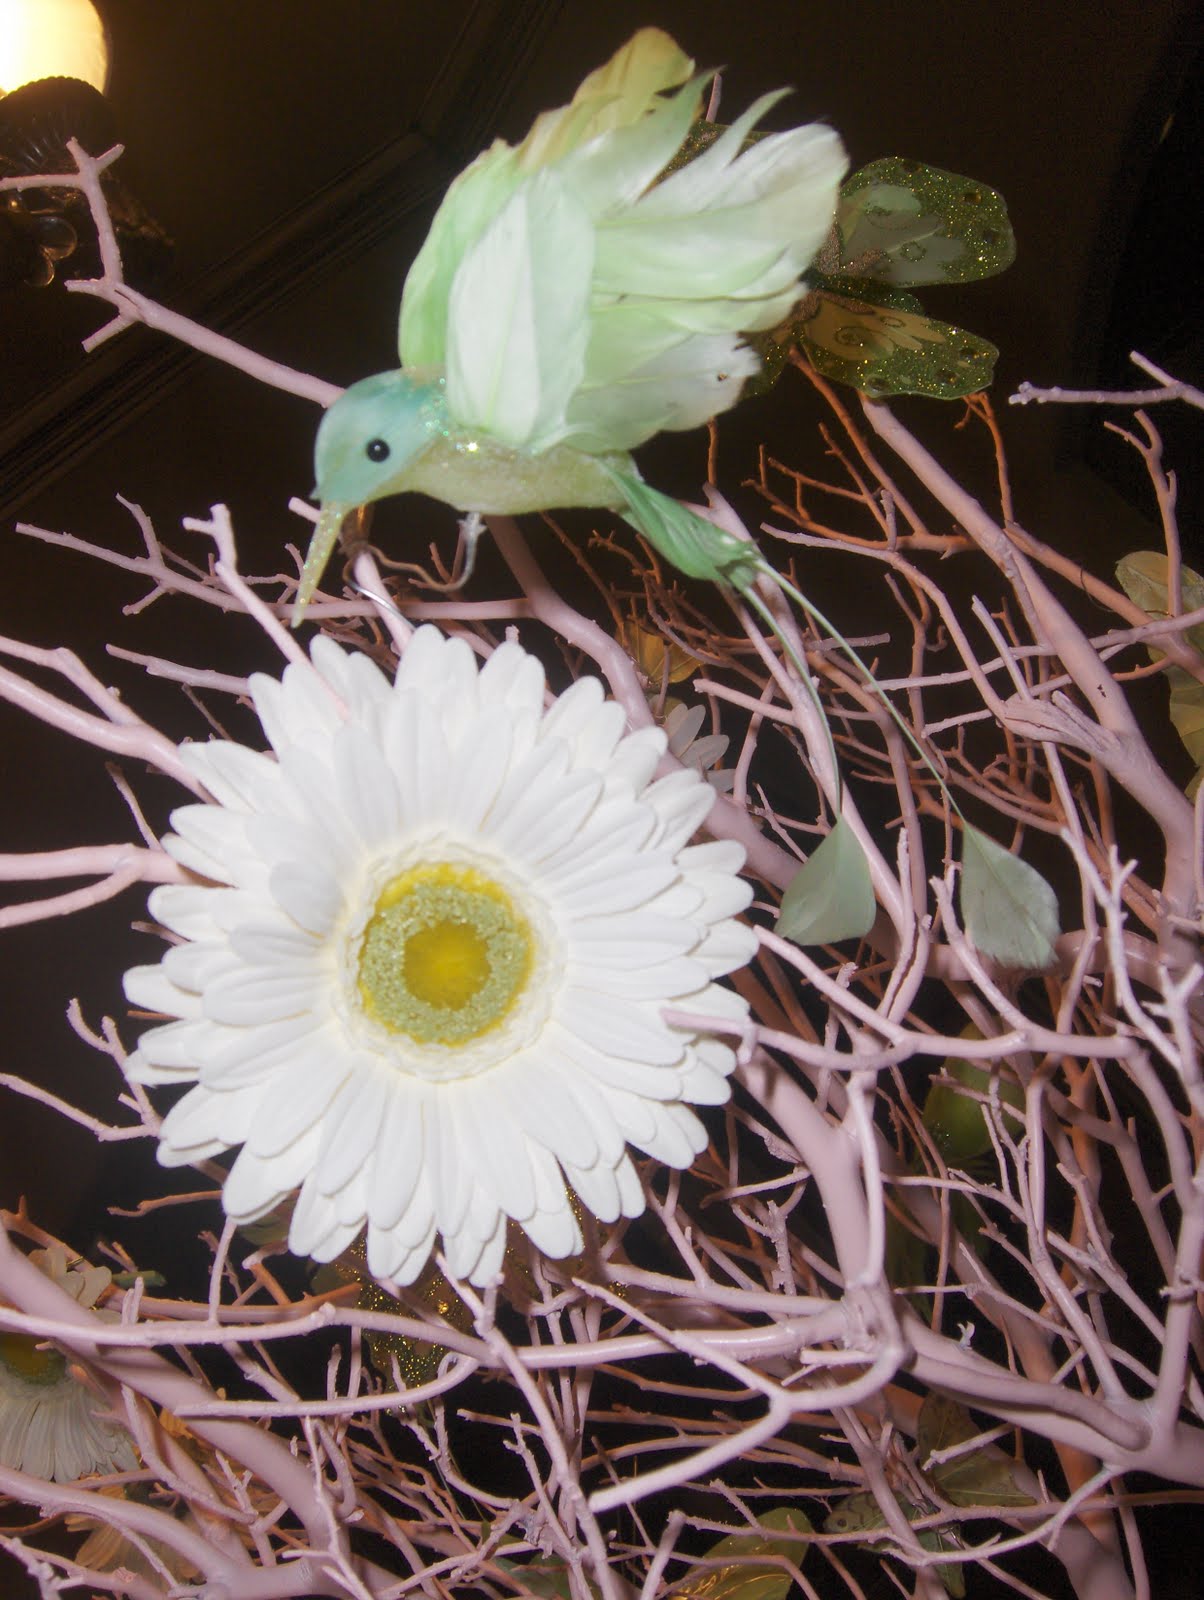
For Mother's Day, I wired on some daisies, along with a few butterflies & birds, and even a hummingbird or two....... 


 ........and added a few hydrangeas to the urn.


 {But that's all you get to see of my Mother's Day tablescape for now.  You'll have to wait 'til Thursday to see the rest of it!}

Another benefit of this centerpiece is that the branches can be repainted over & over to give your table a completely different look!  Hmmm, what color should I do next?

Thanks for stopping by.  Hope you'll be back soon.

{I'm linking with Wow Us Wednesday at Savvy Southern Style,  Show &  Tell Friday at My Romantic Home, Pink Saturday at How Sweet The Sound, Seasonal Sunday at The Tablescaper, Met Monday at Between Naps on the Porch, & Hoo's Got Talent at Night Owl Crafting}