Wednesday, March 30, 2011

Wildcard Wednesday: Signs of Spring.....In My Living Room

Little by little, I've been revealing my spring decor.  Okay, truth is, it's actually taking me several weeks to finish my spring decorating, but knowing that I'm going to share a little more each week has at least motivated me to get something accomplished!

In previous weeks, I've given you a glimpse of my entry (click here), as well as my kitchen (click here & here).  This week, you get a little peek at my living area. 

While I absolutely love the bright colors of spring and the shabby chic spring look that I so often see in magazines & blogs......

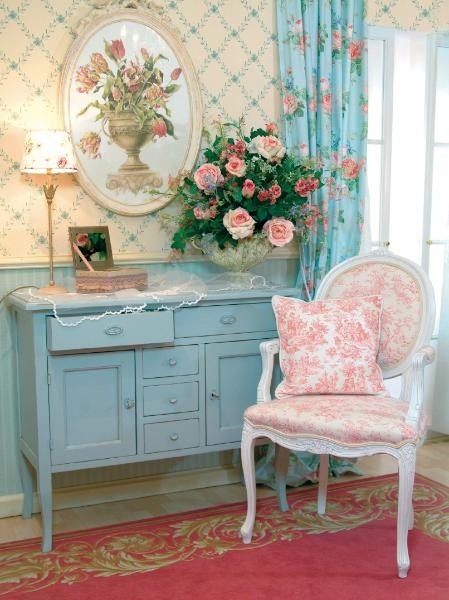
Photo Blog July 26 Decorating Nursery Pink Wallpaper


shabby chic


.......my somewhat European/Old World style decor does not lend itself too well to the bright, shabby chic look......well, not without a major re-do anyway.  So instead, I've chosen to add seasonal decor that will compliment my existing decor.  (Although, I have to admit my spring tablescapes often have a shabby chic look!)

Here are a few of my recent living room changes:

My cocktail table generally looks like this "in-between" seasons:


(Notice the decorative balls in the tray)

But with each season, it gets one simple change...... I trade out the decorative balls for something seasonal.....this time, nests & eggs:


My end table also gets a little change.  Remember this area from my "Curtain Call" post?

It typically looks like this, with a tassle lying on a stack of old books:


But for spring, I traded out the tassle for a glass cloche, showcasing another nest (I just love the bird on the top of the cloche!) & added a little bird.


The stack of books was a little much, so I took a few away, and added a recent TJ Maxx purchase: this stack of old, distressed book pages tied with string.  (This would be easy to make too, but at about $7, I figured it was worth just buying it!)


Nearby is a footstool (get a closer look during this week's Friday Favorites!), which usually holds this Gracious Goods tray with my current magazines:


But for spring, it gets a little face-lift:


A big turquoise bird & large nest sit atop a burlap table runner.


 Have I mentioned how much I love turquoise?

And speaking of turquoise, I made one more change to my living area.  

During the winter large hurricane candle holders, greenery, & berries were displayed atop our armoire:
 

But now, it gets a touch of turquoise as well:

Oh & one more little area to show you.  I've added a couple things to our breakfast bar.  While this is technically part of the kitchen (obviously!), it connects with our living area, so I thought I'd throw it in.

Normally, the picture frame stands alone, but I added a nest & moss-covered bunny to the mix.  {I'm thinking now maybe I should swap out that Santa pic for a spring one!}

I'm linking with This Blessed Nest for Spring Fling, BNOTP for Met Monday, & A Stroll Thru Life for Tabletop Tuesday., French Country Cottage for Feathered Nest Friday,  The Charm of the Home for Home Sweet Home, and The Tablescaper for Seasonal Sunday. Check them out!

Tuesday, March 29, 2011

Tutorial Tuesday: Diaper Cake Tutorial


If you missed last Thursday's post, here's a recap of the baby shower I hosted for my sis-in-law.


Now on to the fun diaper cake centerpiece!
{I apologize in advance for the small amount of photos.  I made this last year long before my blogging journey began, so I'm lucky I have any pictures at all!}

What You'll Need:

~ Approx. 60 diapers - depending on how big you want to make the cake
{You can use disposable or cloth.  You could even use patterned diapers if you prefer.}
~ Several rubber bands
~ Cardboard or plastic cake platter (or you could just cut a piece of cardboard)
~ Large bottle of baby powder or some other baby product
~ Bottle (I used the type that has liners & no "bottom")
~ Decorative ribbon
~ Whatever "decorations" you want to use


What to do:

Begin by unfolding several diapers, and rolling them up tightly one at a time.  It's best to start from the front and roll it toward the back as tight as possible.  Wrap a rubber band around the center of each rolled up diaper.

Place the bottle of baby powder (or whatever product you chose) in the center of the cake platter, and place the diapers around it, securing them in place with a large rubberband or ribbon.  You'll probably need about 6-8 diapers for the first ring of the bottom tier.

Form a second ring, following the same instructions as the first, only this time using about 10-13 diapers.  Again secure with a rubberband or ribbon.

Now form one more ring for the bottom tier, using approximately 18-20 diapers.  For this ring, you have the option of either tying each diaper with a rubberband as before (you'll want to be sure the rubberbands are in the middle so that when you place a ribbon around the ring, it hides the rubberbands), or you can tie a small ribbon around each diaper so that several "bows" show all around the ring.  (You'll still have to tie a larger ribbon around the layer to keep the diapers together.)  I had a little difficulty keeping all the diapers in place while I tied the ribbon around it.  You may want to have someone help you hold them in place while you tie the ribbon, or you can hold together as many as possible, tie the ribbon (with a little room to spare), and then sqeeze in more diapers.

Now your bottom layer is finished!


Repeat the same process for the second tier, but only make two rings this time.

Stack the bottle on top of the baby powder.  (This is why I like the "bottomless" bottles.  It sits better on the baby powder, making it sturdier).  If you chose another type of bottle, it may be easier to sit in on a table to form the top tier & then place it on the cake.

For the top tier, you only need to form one ring of diapers around the bottle.  (You can either invert the bottle nipple as I did so that it wouldn't show, or if you don't have a topper, you can leave it sticking out the top of the cake.)


Now's the fun part.....decorating it.  You can be as creative as you'd like!

Although I had a thin ribbon around each tier of diapers holding them in place, I chose to cover that ribbon with two layers of other decorative ribbon, held in place by a little hot glue at the back.  (I just pulled it tight & glued the ribbon to itself, not the diapers!)


I also added a pink feather boa around each layer, which not only added a little more pizzazz, but also helped to conceal the cake platter on the bottom.


The bunny is just sitting on the top, with nothing actually connecting it.
You could also just tie a bow on the top.


Then I added a few other baby items, such as a little "princess" fork & spoon, a bunny wrist rattle, a little rhinestone picture frame (which I lined with green scrapbook paper & a rhinestone "C" sticker - the baby's initial), baby shoes, and a pacifier & clip.  Some items were tucked into the ribbon, while others simply rested on the cake or were attached with some type of clip  - whatever I had on hand.  I even used paper clips!


Now that you've seen the front of the cake, I'll do a 360* around it. 

Here's a view of the side of the cake, which I decorated with little baby bunny slippers and a couple of hair bows.


And here's the back, which showcases a flower barrette, some washclothes (which I simply tied together with ribbon, paper-clipping the ribbon to the ribbon on the diaper cake), and another pacifier resting on the bottom tier. 


And here's the other side, which holds a sweet little pair of baby booties.


And now we're back to the front.


These make great baby gifts as well!


I'm linking to Mosaic Monday at Little Red House & Metamorphosis Monday at BNOTP!  Check it for some great inspiration!