For both Easter & Mother's Day, my tablescape centerpiece included a "tree" that I put together. While easy to do, it made it a big statement, so I thought I'd share this easy project with you.

What you'll need:
~1-3 manzanita branches (depending on how big you want it to be & the size of the branches)
~an urn or container of some kind
~spray paint (my two branches required 4 cans)
~ possibly something to stick down in the urn to help hold the branches in place
(Anything that has a little weight & fits should work......I've seen people use decorative orbs, floral foam, etc. If the items will show, you'll want it to be something decorative, of course.)
~ tree "decorations"
What to do:
After testing out your branches to make sure they'll fit in the urn/container, spray paint branches desired color. I painted mine "Ballet Slipper Pink"......I love the subtle color. (The branches are pretty in their natural state, so you could skip the paint depending on the look you're going for. I have one branch I've kept in its natural state for another tablescape I have in my head that I want to do sometime in the near future!)

I took the branches out to the field next door to paint them.


It took 3 or 4 coats to completely cover the dark color of the branches.
(Guess I could have used primer, huh!)


After paint is completely dry, set the branches in the container.

I was lucky that the hole at the bottom of my urn was just the right size for the ends of the branches, which helped to hold them upright.

I wanted my two branches to look like one, so I gently intertwined some of the limbs. This also helped to hold it in place. {Be careful when doing this as some of the limbs are fragile.}

{Once in its desired place, here is where you might have to add something down in the urn to help keep the branches upright.}
Then, just decorate it. For Easter, I chose to use vintage eggs & postcards on the branches.......


For Mother's Day, I wired on some daisies, along with a few butterflies & birds, and even a hummingbird or two.......


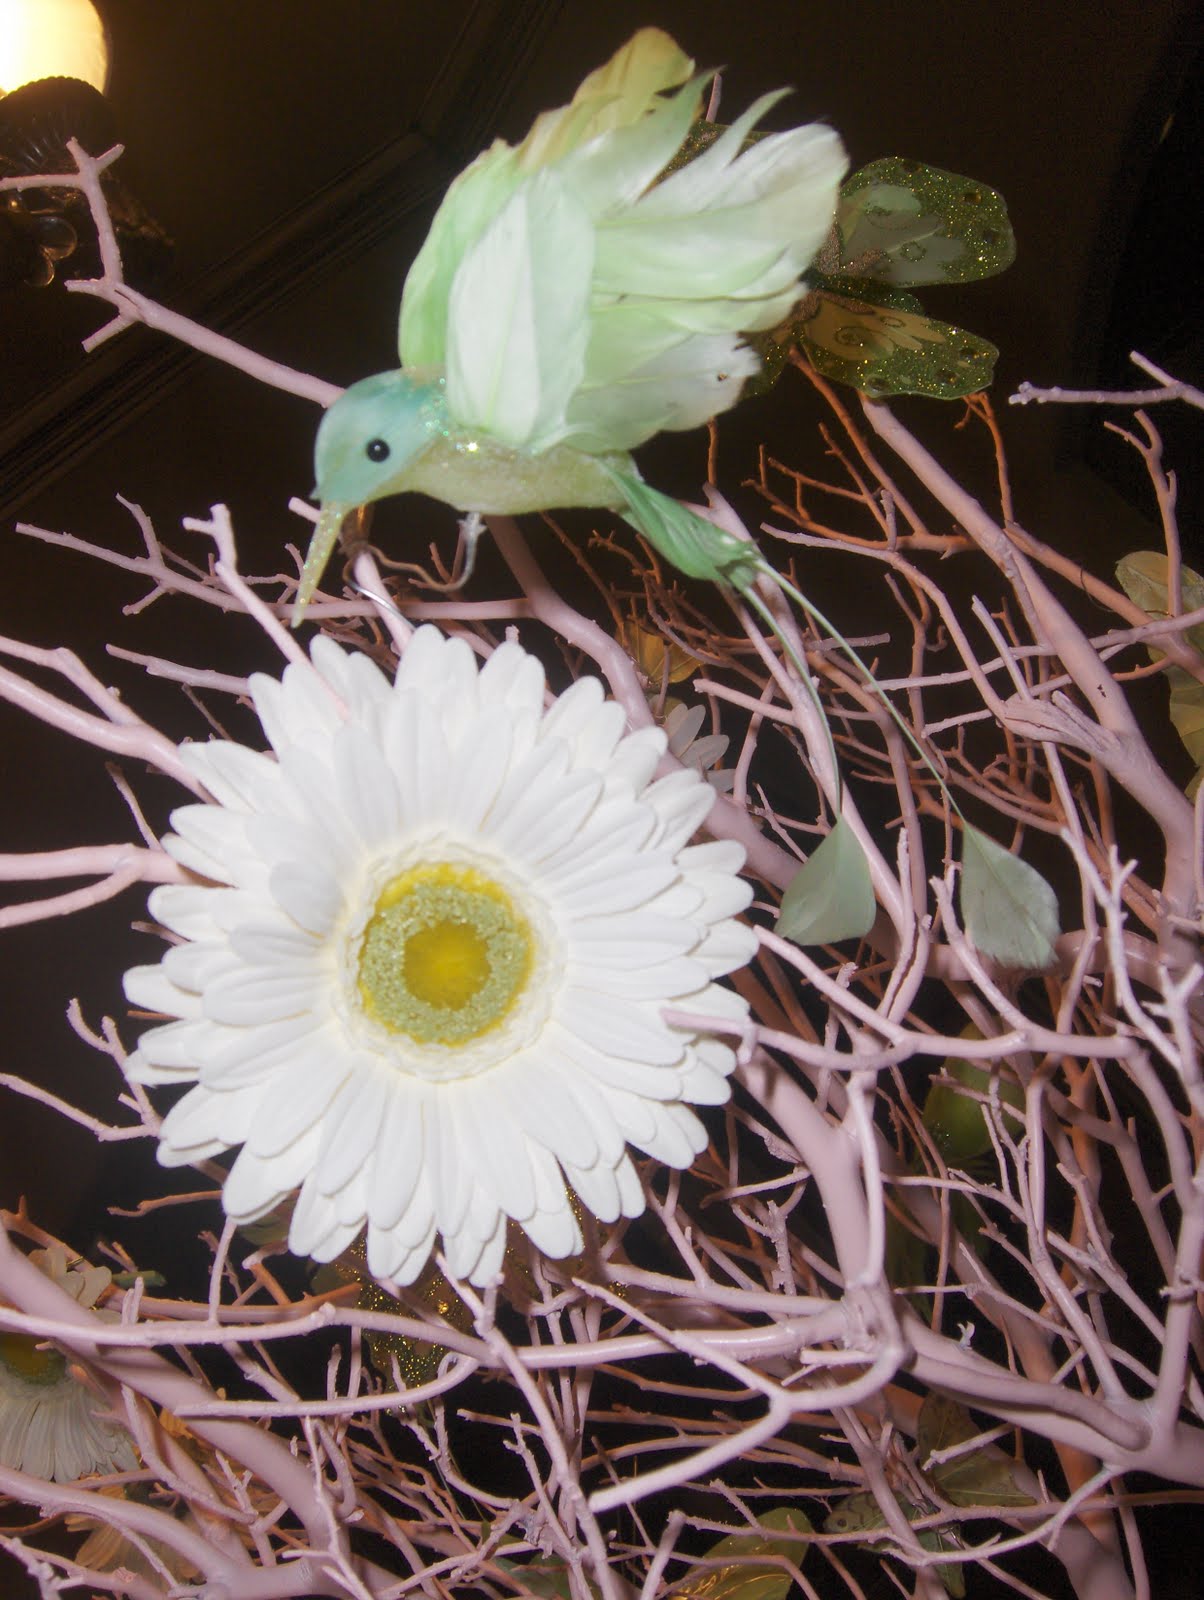
........and added a few hydrangeas to the urn.


Another benefit of this centerpiece is that the branches can be repainted over & over to give your table a completely different look! Hmmm, what color should I do next?
Thanks for stopping by. Hope you'll be back soon.
{I'm linking with Wow Us Wednesday at Savvy Southern Style, Show & Tell Friday at My Romantic Home, Pink Saturday at How Sweet The Sound, Seasonal Sunday at The Tablescaper, Met Monday at Between Naps on the Porch, & Hoo's Got Talent at Night Owl Crafting}
Beautiful! You are so creative. This turned out fabulous....Christine
ReplyDeleteHi Shae, Everything you do is so wonderful and a blessing to all. You are so talented and I appreciate all your time in posting descriptions and photos, Thank You!Emelia.
ReplyDeleteVery Pretty Shae!
ReplyDeleteHappy PS!
Sparkly Hugs,
Tobi and the Pixies!
Good idea. Both are very pretty centerpieces!
ReplyDeleteThanks so much for all of your contributions to Seasonal Sundays. I was just having some fun and realized I had missed this post. Love the centerpiece ideas.
ReplyDelete- The Tablescaper
where did u order your mazanita from? What size did order?
ReplyDeleteI'm fortunate enough to have a sis-in-law who's a florist, so I just told her I wanted a couple & she picked them out for me. I'll try to get a little more info as far as the size & get back to you!
ReplyDelete