For You created my inmost being; You knit me together in my mother's womb. I praise You because I am fearfully and wonderfully made....
Psalms 139:13-14 (NIV)
Did you know that March is "National Baby Month"?
I didn't either until a few weeks ago when I was having some fun with a "holiday calendar" at gone-ta-pott.com.
Psalms 139:13-14 (NIV)
Did you know that March is "National Baby Month"?
I didn't either until a few weeks ago when I was having some fun with a "holiday calendar" at gone-ta-pott.com.
I'm not sure exactly why March is deemed "baby month"; after all, aren't babies born every month? But for some reason, it is. Anyway, I decided that it would be a great time to share some pics from a baby shower I hosted for my sister-in-law about 1 1/2 years ago.....not to mention that the colors of the shower are very spring-like.
(I must warn you: this post is very photo-intensive!)

(I must warn you: this post is very photo-intensive!)

My inspiration for the shower came from the colors of her nursery. Here's a little glimpse of it:

My mother-in-law made the bedding! Isn't it precious?
Now back to the shower.
To give you an idea of how the main food table transformed, I'm going to show you a few "behind the scenes" pics. They're not the best pictures, but they show how I played around with the table for several weeks before the shower.
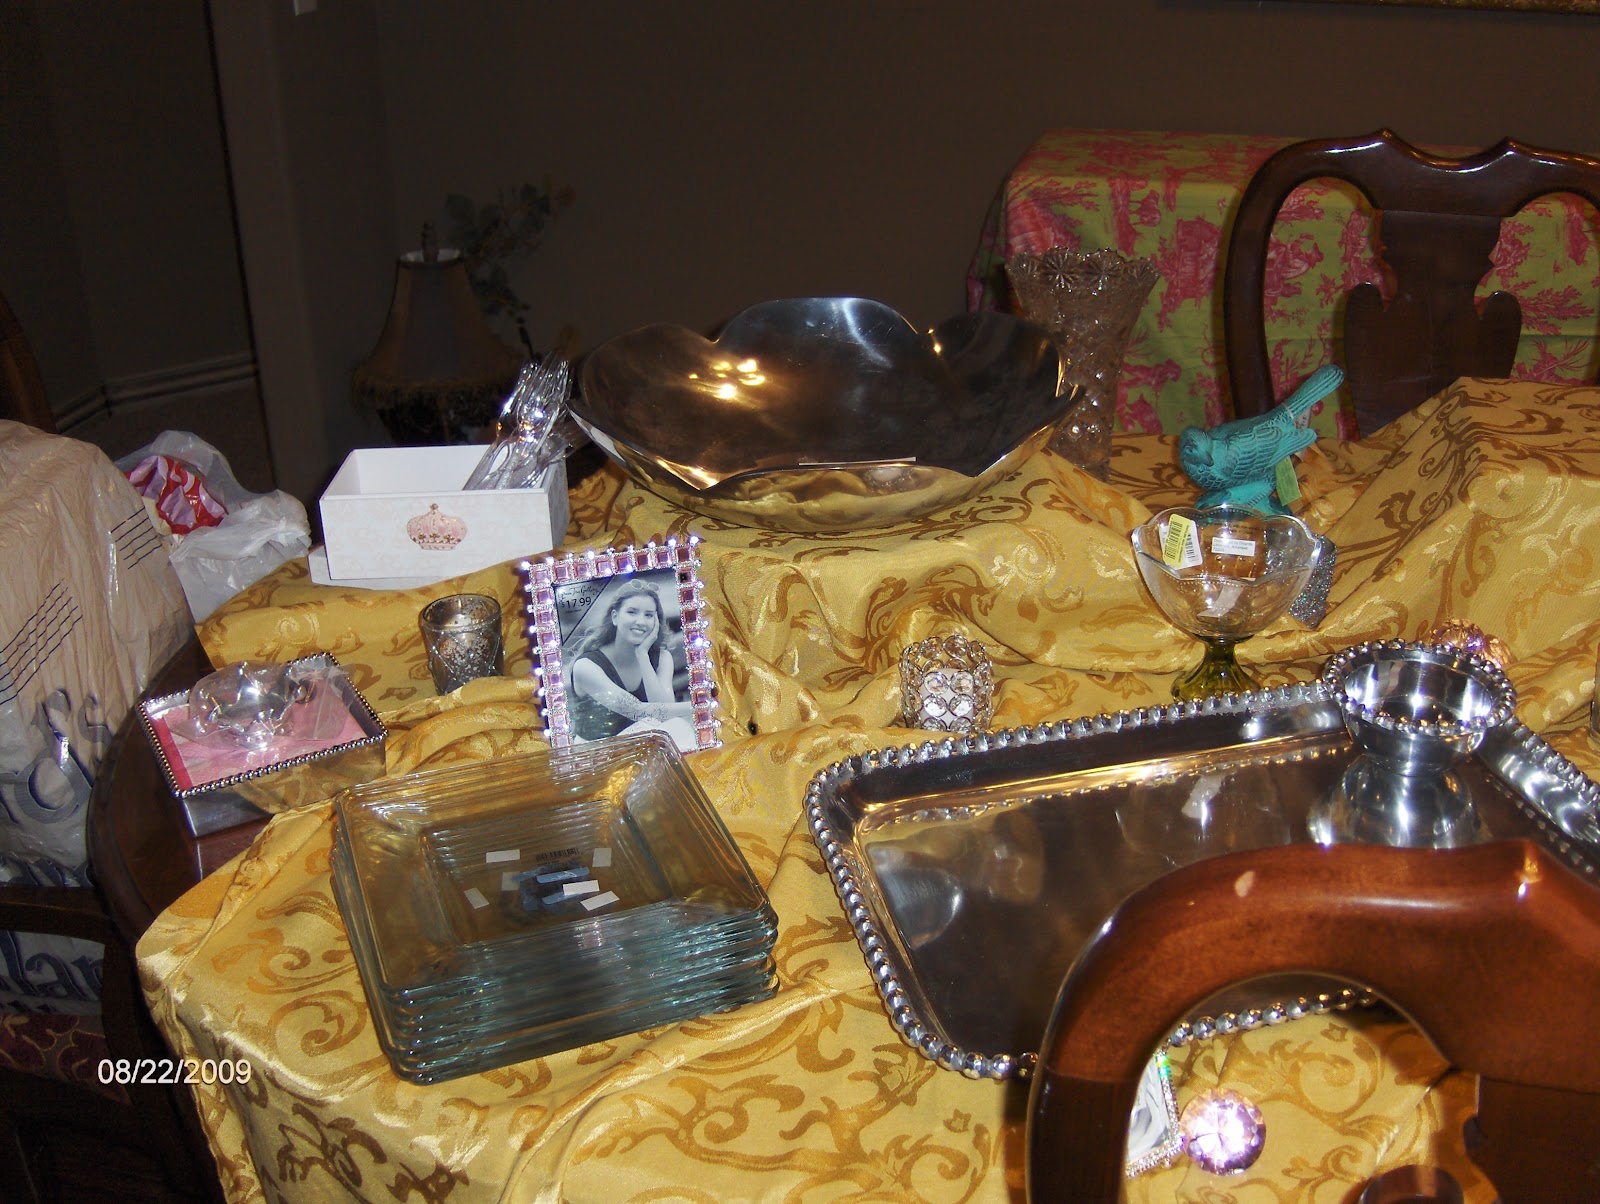
First, I started by grabbing a couple of tablecloths I already owned (this was before I purchased the fabric for the shower), & played around with it to get the layout I was looking for. To give it a little more dimension, I simply stacked books & other sturdy objects under the tablecloths.
I gathered several silver, crystal, and ceramic serving pieces I had around the house, as well as anything that was pink, green, or shabby chic, that could possibly be used to hold food or utensils or simply add some interest to the table.

In the far left corner of the table, you can see a little white box with a pink crown. I chose that to hold the flatware. A silver crown napkin weight sets atop the napkin holder, while a pink rhinestone frame will later hold an ultrasound picture.

A turquoise bird, a bunny, several rhinestone candleholders, and pink & clear "diamonds" also add interest to the table. Small rhinestone picture frames will be used to identify various foods. And the big square hump you see in the middle of the table will later showcase the centerpiece.

A petal pink bucket, lined with a green napkin, will later contain sausage cheese balls. Yummy!
(Having already decided on the menu, I labeled every serving dish with the food it would contain.)
 {Notice the date on the above photos is August 22! The shower wasn't until September 5, and I had already been working on this for days! I took these pictures the day I purchased the actual table coverings, so that when I removed everything to change them out, I could remember how it was arranged!}
So now that I had the general layout, I went in search of the perfect table covering.
I chose to layer a light green satin fabric over a soft pink fabric, then added a sheer shabby chic tablecloth with sweet little rosebuds.


Now back to the shower.
To give you an idea of how the main food table transformed, I'm going to show you a few "behind the scenes" pics. They're not the best pictures, but they show how I played around with the table for several weeks before the shower.
First, I started by grabbing a couple of tablecloths I already owned (this was before I purchased the fabric for the shower), & played around with it to get the layout I was looking for. To give it a little more dimension, I simply stacked books & other sturdy objects under the tablecloths.

In the far left corner of the table, you can see a little white box with a pink crown. I chose that to hold the flatware. A silver crown napkin weight sets atop the napkin holder, while a pink rhinestone frame will later hold an ultrasound picture.

(Having already decided on the menu, I labeled every serving dish with the food it would contain.)

So now that I had the general layout, I went in search of the perfect table covering.
I chose to layer a light green satin fabric over a soft pink fabric, then added a sheer shabby chic tablecloth with sweet little rosebuds.

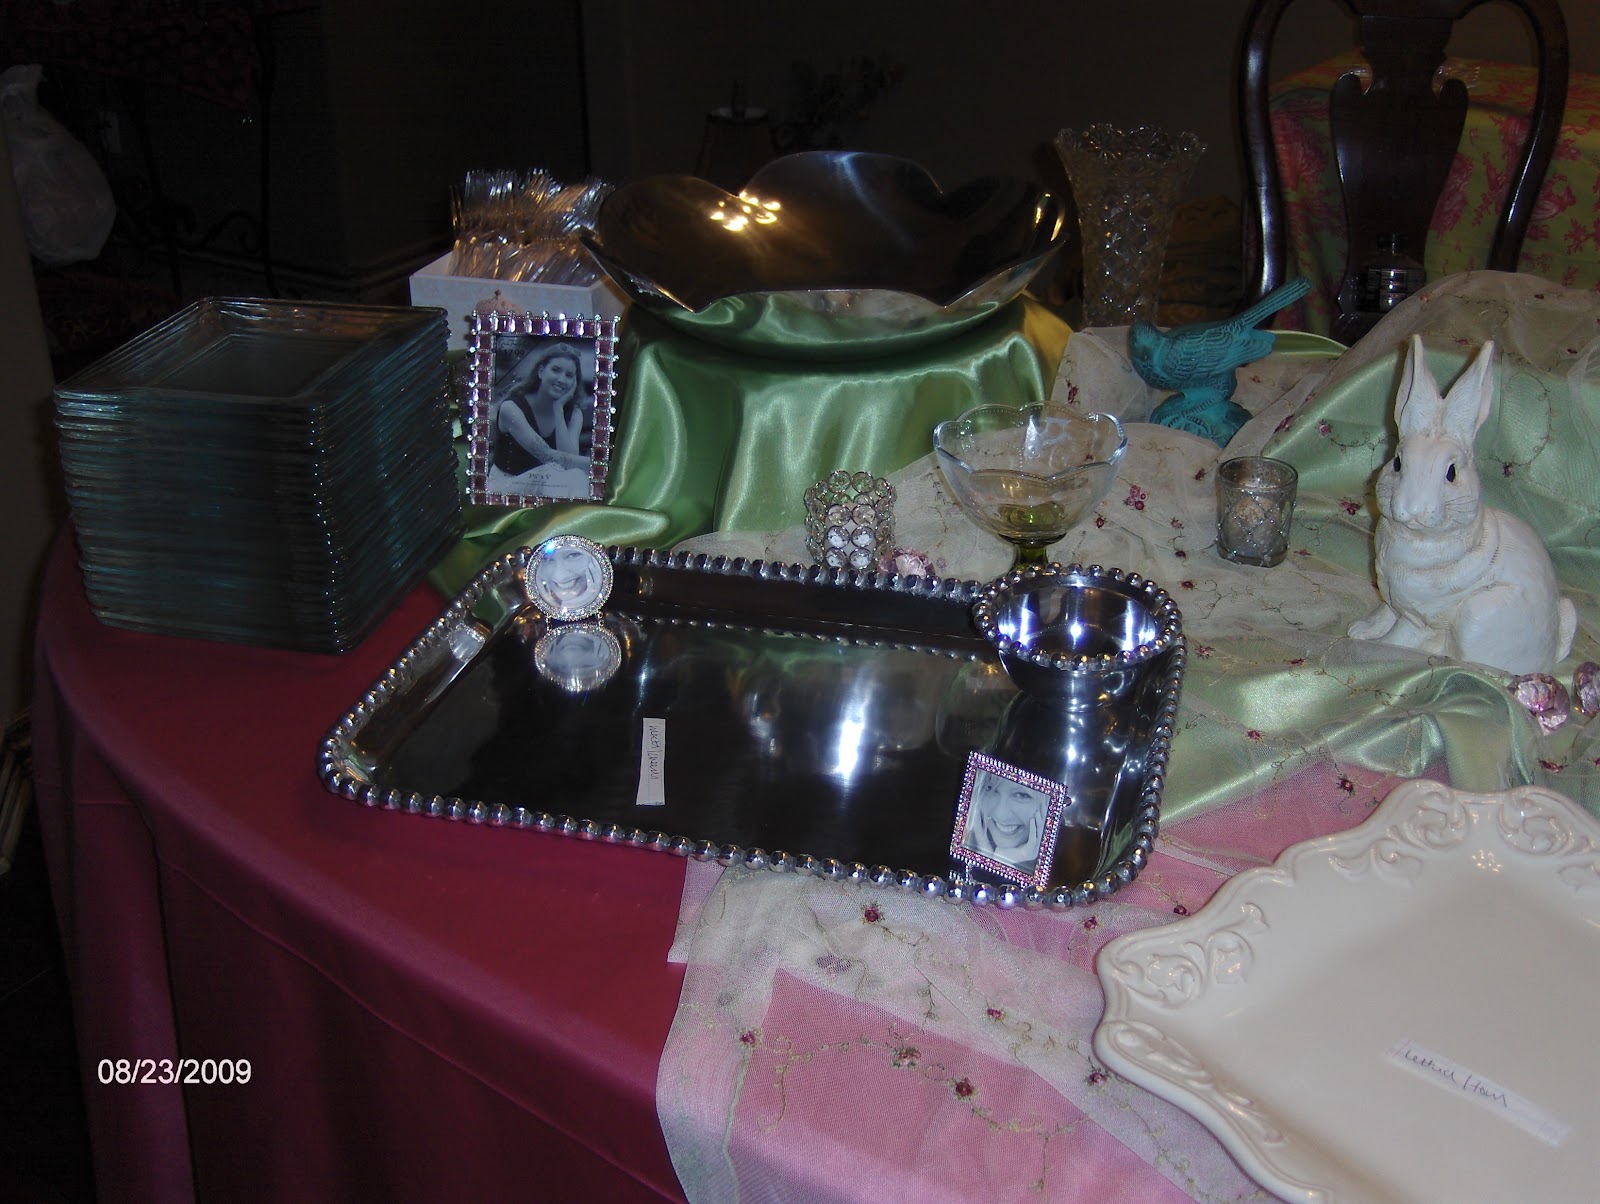 |
| {Remember the small picture frames will be used to label food, while the large pink rhinestone frame will display an ultrasound pic.} |

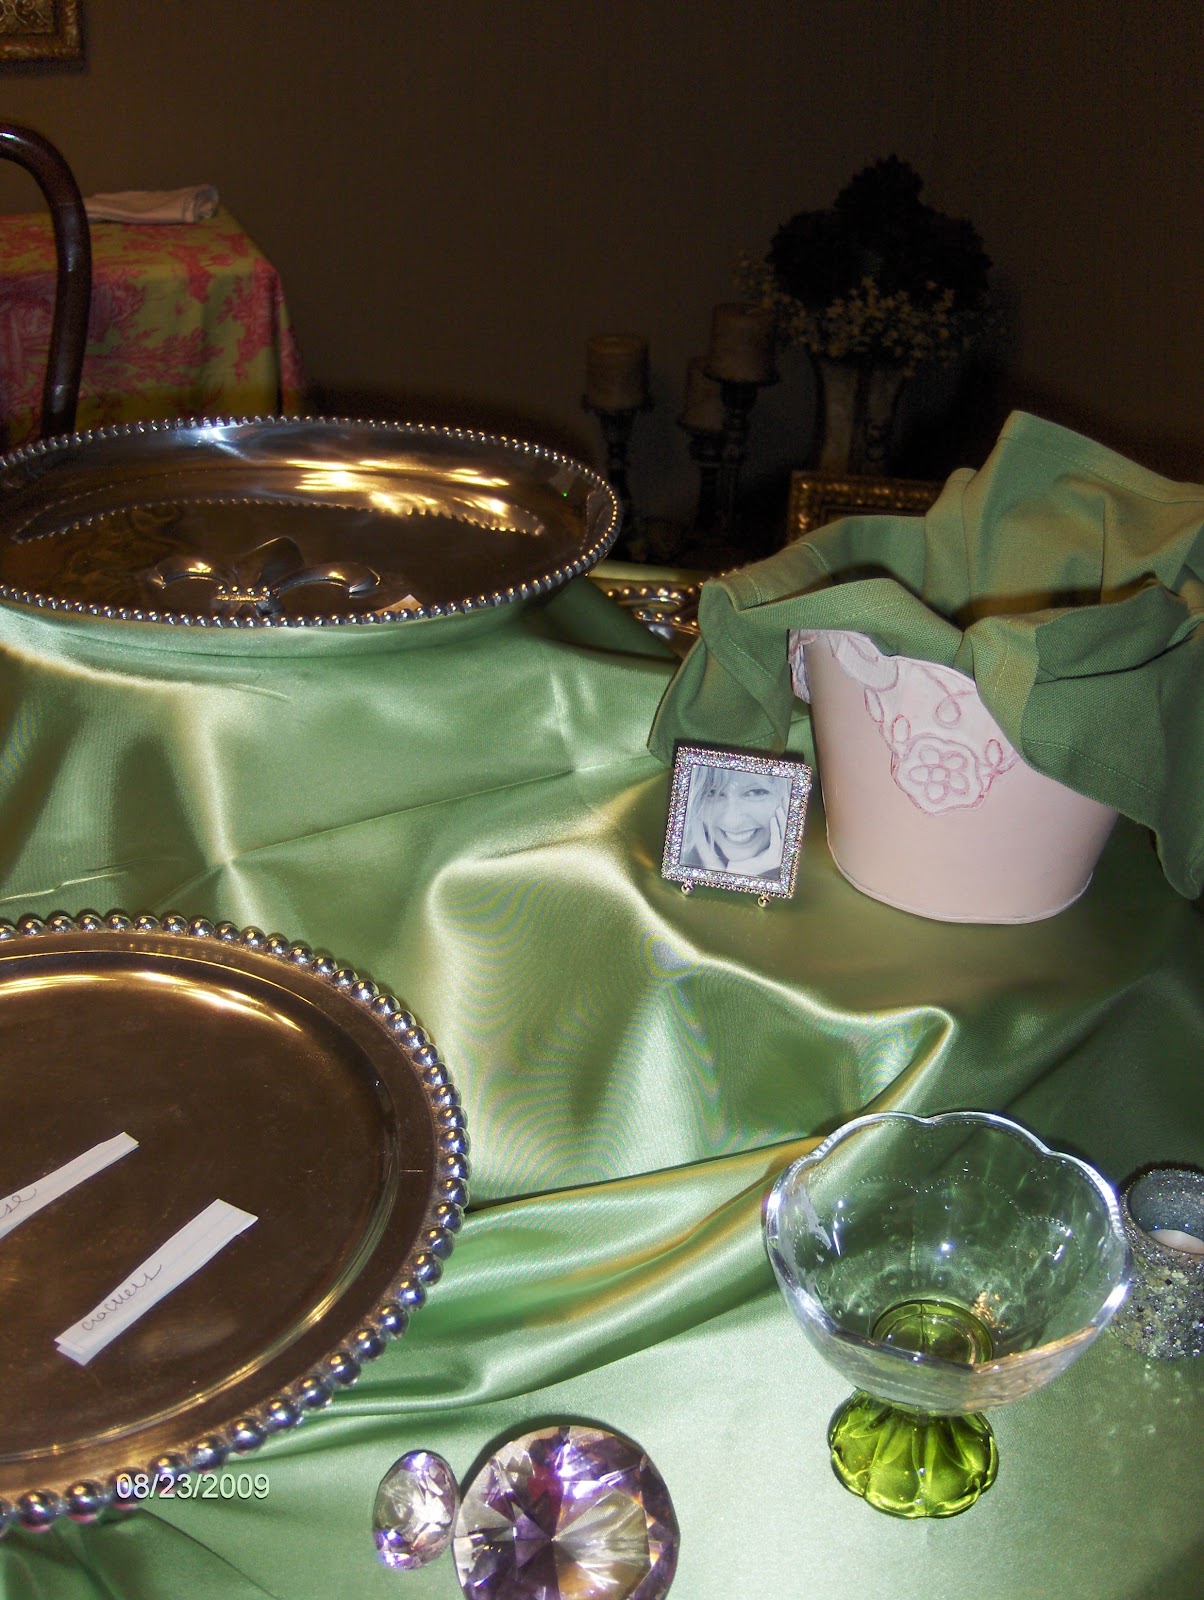
Then I added the center piece, a diaper cake that I made as a part of her gift.

 |
| {If you look to the top right, you can get a little sneak peak of the drink buffet.} |


(Look for a tutorial next Tuesday!)


 |
{a little different angle}   |
The day of the shower, I added fresh flowers, candles, & of course, the food!


I simply turned my formal dining buffet into a drink station by covering it with some more of the satin green fabric, and layering a sweet pink lace tablecloth over the top.
 |
| {I didn't get any close ups, but if you look closely, you can see the pink & green toile napkins, as well as a special glass for the guest of honor.} |
 |
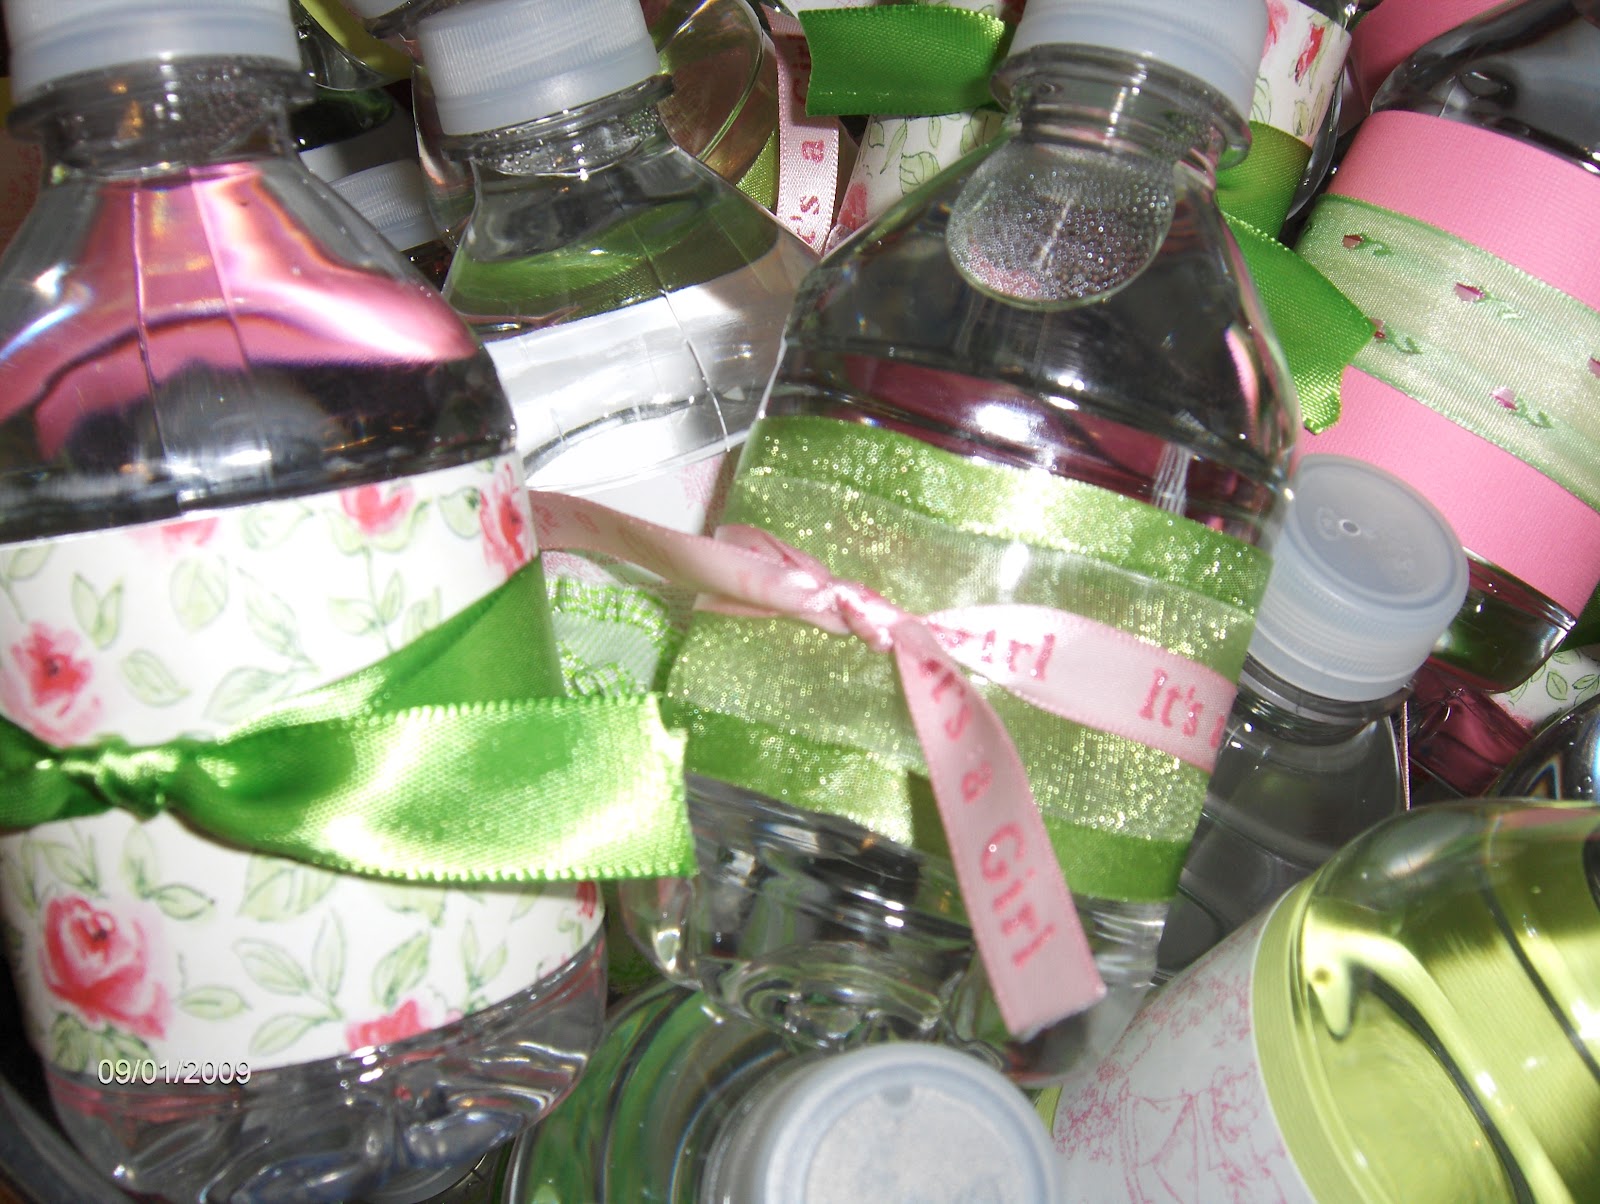
| Guests had the option of a yummy pink punch (sorry, there aren't any pics) or a miniature bottle of water. I took the wrapping off of all of the water bottles & added coordinating paper & ribbon. |

 =
=The dessert table, dressed with a pink & green toile tablecloth from Williams-Sonoma and some pink tulle, holds brownie bites from a local bakery, as well as sweet cookies & cupcakes decorated by my talented husband!
(Click here for more cookie designs & here for the recipe!)
(Click here for more cookie designs & here for the recipe!)


Three tables, simply covered with borrowed tablecloths & a small arrangement, sat on the covered back porch, providing more seating for guests.


Guests were asked to write a little message as a keepsake, to later be placed in a scrapbook for the mom-to-be.


To provide a coordinating backdrop for the gifts, I simply used wire to hang little shabby chic outfits & bibs from the mantel. Of course, the mom-to-be got to take them all home with her for her precious little girl!


And you can't send the guests home empty handed.
A pink & green candy bar gave guests a chance to choose something yummy for the road.

I simply "scrunched" some green tulle to add a little softness to my breakfast bar, then gathered several glass containers from around the house. Again, I used small rhinestone picture frames to identify some of the candy, while others received handmade labels.
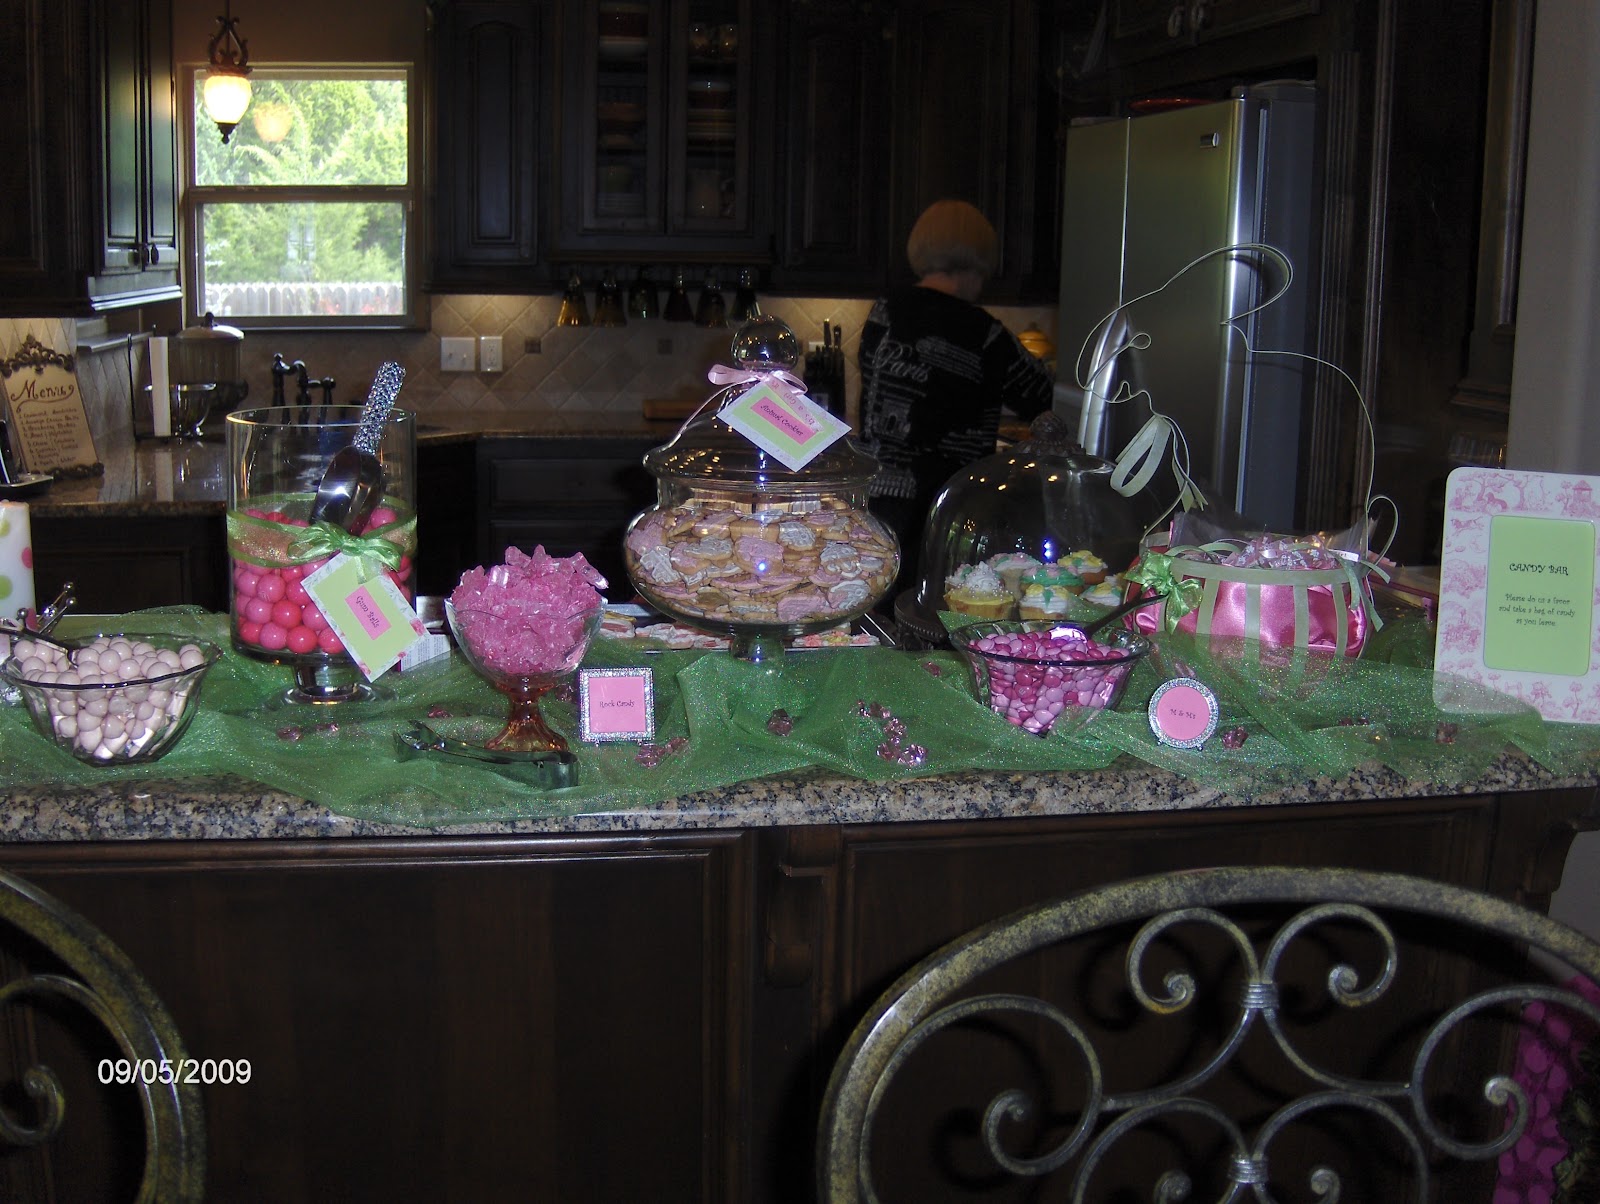
{That's my mom you see in the background, helping me out with all the last-minute details. What would we do without moms?!}

Strawberry Milkshake Whoppers, Pink Lemonade Gum Balls, Strawberry Rock Candy, Pink & White Iced Animal Cookies, & Pink M&M's provided a variety for the guests. Oh, & don't you absolutely love the rhinestone scoop in the gum ball jar? I found that at a little boutique a couple years ago and just had to have it!


An old Easter basket, lined with extra pink satin fabric, provides the perfect spot for clear party bags & lots of pink & green ribbon for the guests to use in gathering their goodies!

Hope you enjoyed the tour!
I'll be linking with Between Naps on the Porch for Tablescape Thursday & Met Monday, How Sweet the Sound for Pink Saturday as well as A Stroll Thru Life for Tabletop Tuesday.


